PTHAT Controlling Coil Winding Machine using Instant Commands
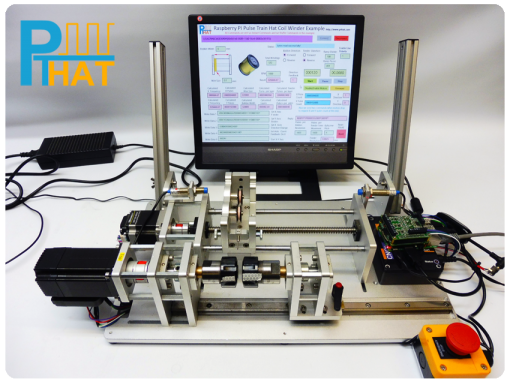
The Coil Winders we tested on are both our own production machines and use stepper motors for both the feeder arm and bobbin motor assembly.
Within the software you will see you can set the pulses per revolution for the bobbin motor and the pulses per revolution along with pulses per 1mm travel on the feeder arm.

Make sure your Coil Winder is Set to the left side of the bobbin.
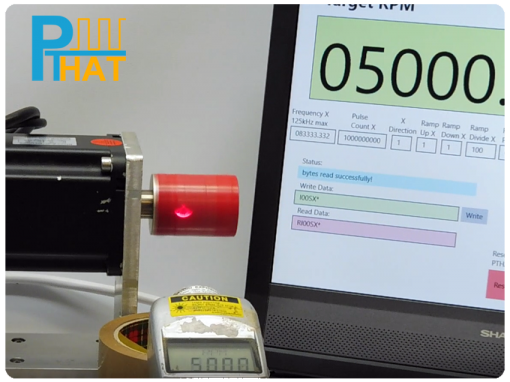
Now set your Bobbin Diameter, Wire Size, Total Windings and RPM.
Now finally click on the Start button and it will send out the commands set and start the Coil Winder.
Watching the video below will give a better overview.
Commands used in this example are:
Set Axis Command
Set Auto Direction Change Command
Set Auto Count Pulse Out Command
Start Axis Command
Stop Axis Command
Pause/Resume Axis Command
Request Current Pulse Count Command
Toggle Motor Enable Line
Request Firmware Version
Reset PTHAT

In this video we give an overview of the example software we supply to control a Coil Winding Machine.
The end developer has easily modify this example to build their own application.
The example application was developed in Visual Studio 2015 that can be used with Windows 10 IOT on the Raspberry Pi or compiled to x86/x64 for use on a PC.
The example has been written in C# as a Universal Windows Platform (UWP).
Please use the following link to download the full source code.
24th March 2026, source code examples have been updated for Visual Studio 2026.
Gallery


Select another example below
24th March 2026, source code examples have been updated for Visual Studio 2026.


Closer look at the PCB's
PTHAT Mainboard
- Single Channel Main Board.
- JTAG Programmer.
- Set of Mounting Spacers and Bolts.
PTHAT Add on Board
- Expansion Add on Board.
- Increases the PTHAT to 4 channels.
- Extra I/O Functionality.
- Set of Mounting Spacers.
PTHAT Full Package
- Single Channel Main Board.
- Expansion Add on Board.
- Increases the PTHAT to 4 channels.
- Extra I/O Functionality.
- JTAG Programmer.
- Set of Mounting Spacers and Bolts.
- Save £10 with this Package